In our previous post, we explored the process we use to secure samples of wheat from our farmers and clean the grain ready for milling and test baking. In this post, we look at the test baking process, bringing the test doughs together and assessing how the doughs perform during the kneading, stretching & folding stages of bread making.
Knowing what you’re working with..!
To ensure that we carry out baking tests that are meaningful – ie, we have a benchmark by which to compare the new wheat samples / flours to, we test two new samples of flour alongside our existing Prior’s White Flour. This is a flour I am well used to working with (baking with it most weeks), so I know how it performs – how it hydrates, how it stretches, tightens up, how it proves and how I conjure oven spring!
So, my tests are rather ‘clinical’ – to ensure that the new flours are tested in exactly the same way.
I start off with the two new flours clearly labelled with my control (the current White Priors Flour):
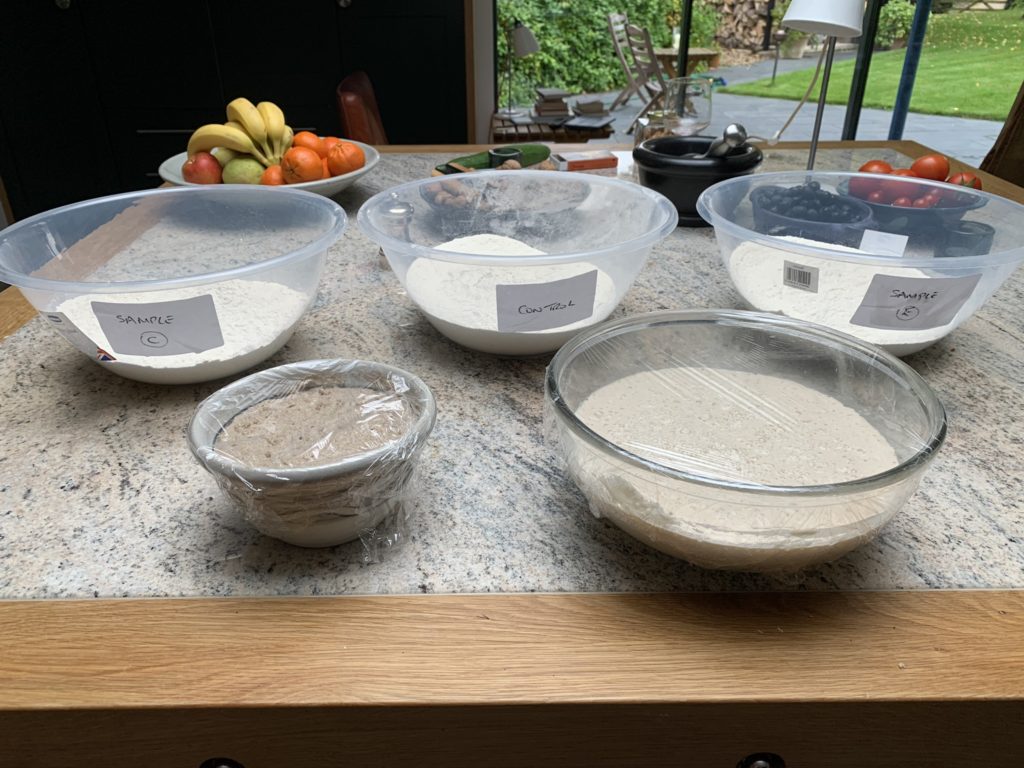
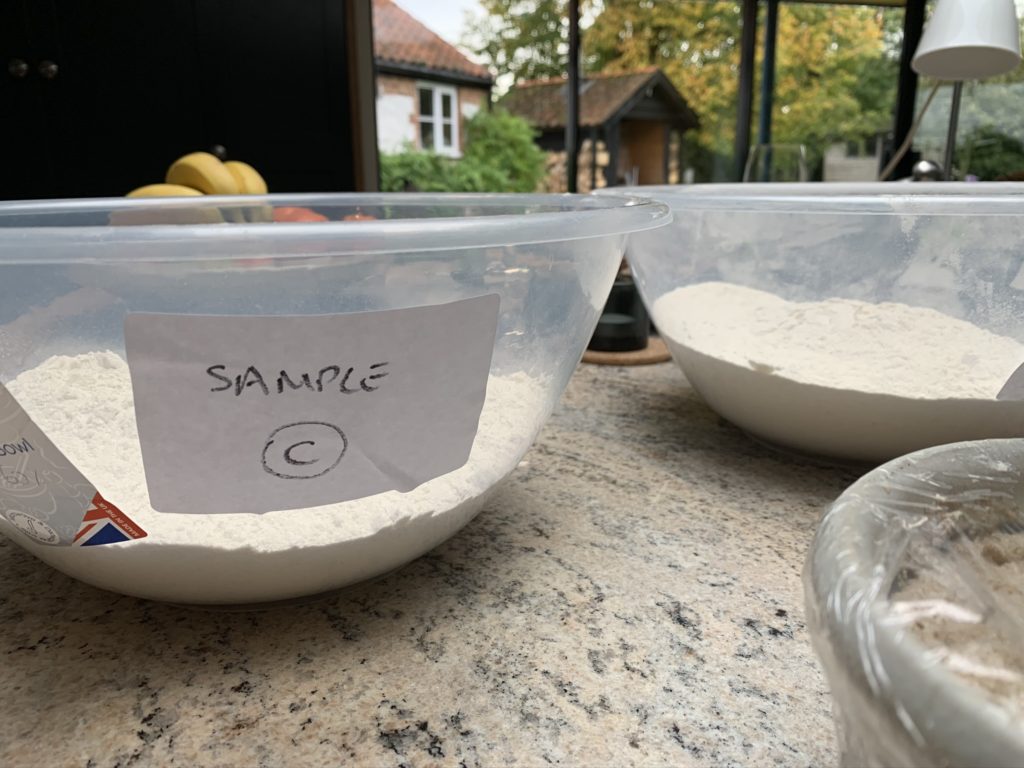
The video below tells more of this stage:
Assessing how the dough / flours are performing
Once the dough has been brought together and we have completed the kneading process, it is possible to begin to notice differences in the way the flours are performing – how the dough takes on water, how quickly it tensions when you work with it, surface bubble activity indicating CO2 production etc. The video below tells the story:
In our next post, we will follow the process to the baking stage and see what the results look like!
